 |
|||
|
|
|||
|
Page Title:
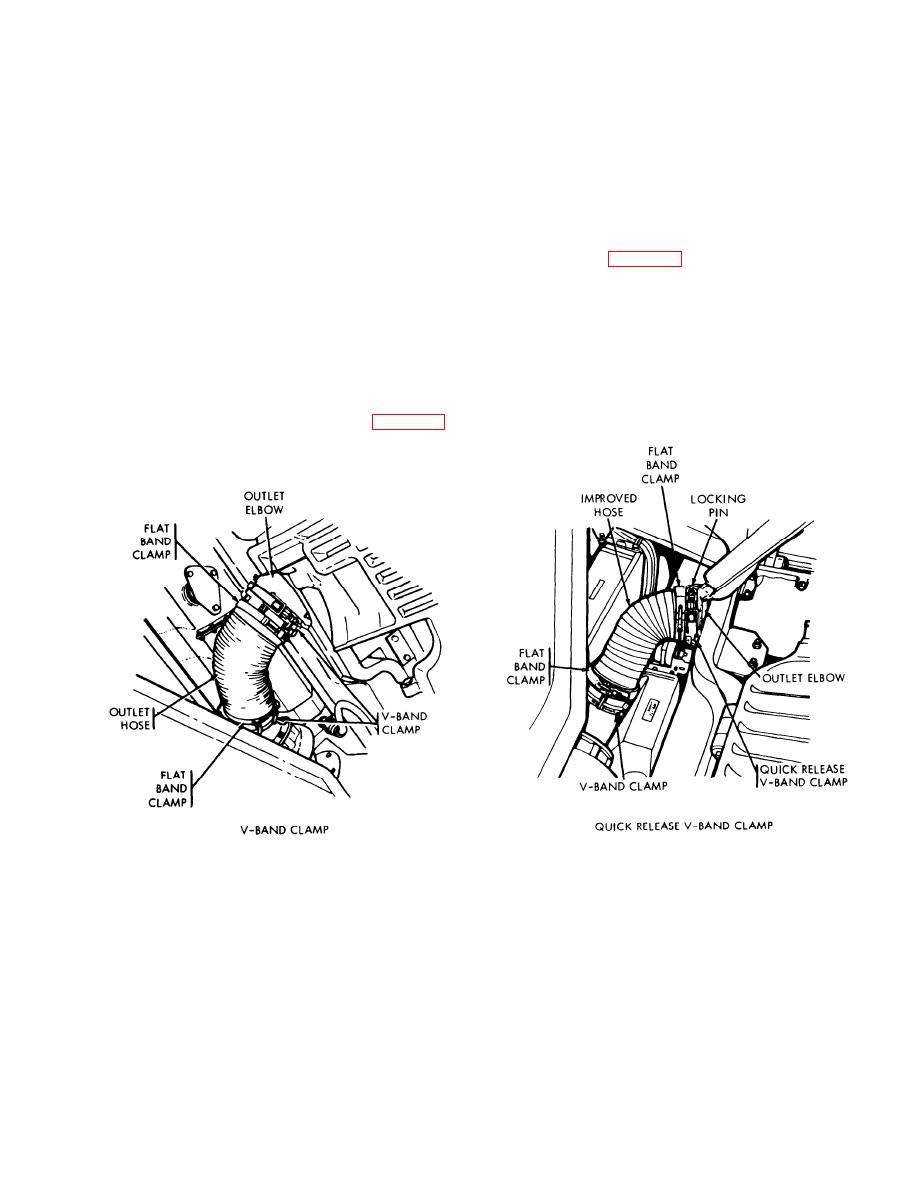
Figure 3-10. Air outlet hose inspection (V-band clamp). |
|
||
| ||||||||||
|
|
 TB 9-2300-378-14
5.
Check turbo elbow flange to ensure that all studs, and nuts are present,
and tight (view B).
6.
Check turbo elbow for gasket between turbo elbow, and turbo housing.
Inspect gasket as much as possible looking for tears, folds, and missing
pieces using an inspection mirror, and flashlight where necessary.
7.
Inspect connection of outlet hose to outlet elbow (view C). Check that
band clamp is installed. Inspect clamp for damage, or missing parts (i.e.,
bent, broken, or missing fingers, torn band, broken finger pivot mounts).
Replace defective hose or clamp. Refer to para. 3-6b.
Verify that all fingers engage outlet elbow flange (view D). Use inspec-
8.
t i o n mirror and flashlight to view bottom fingers. Grasp each finger
i n d i v i d u a l l y , and attempt to move it side to side. Movement of any
f i n g e r indicates a loose clamp. Tighten clamp if loose. Attempt to
rotate flat band clamp, located on hose just behind finger band clamp.
Any movement indicates a loose clamp. Tighten clamp if loose.
(b) V-Band Clamps (Fig. 3-10).
Figure 3-10. Air outlet hose inspection (V-band clamp).
NOTE
If V-band clamps, and V-band clamps with quick release
h a n d l e are installed instead of the finger band clamps,
perform steps 1 thru 7.
3-33
|
|
Privacy Statement - Press Release - Copyright Information. - Contact Us |