 |
|||
|
|
|||
|
Page Title:
REMOVE AUTOMATIC TIMING ADVANCE 11-1272 |
|
||
| ||||||||||
|
|
 3208 INDUSTRAIL AND MARINE ENGINES
DISASSEMBLY AND ASSEMLBLY
CAMSHAFT AND GEARS,
AUTOMATIC TIMING ADVANCE
NOTE: If the bolt cannot be installed in the camshaft of
gear, the timing must be corrected as follows:
a) With timing pin (A) installed, remove the
tachometer drive adapter housing and
shaft.
b) Loosen the gear from the fuel injection
pump camshaft.
Turn the crankshaft
clockwise approximately two full turns until
bolt (4) can be installed. Install the bolt.
c) Install tachometer drive adapter shaft and
tighten it to a torque of 80 5 lb. ft. (11.1
0.7 mkg).
Install adapter housing.
Remove the bolt and timing pin and install
the plugs.
OTE: See Step 2 and the NOTE on Pages 13 and 16
N
for earlier and later tachometer drive shaft torques.
end by:
a) install valve lifters
b) install timing gear cover and oil pump
REMOVE AUTOMATIC TIMING ADVANCE
11-1272
Tools Needed
A
3P1544
Timing Pin
1
start by:
a)
remove timing gear cover and oil pump
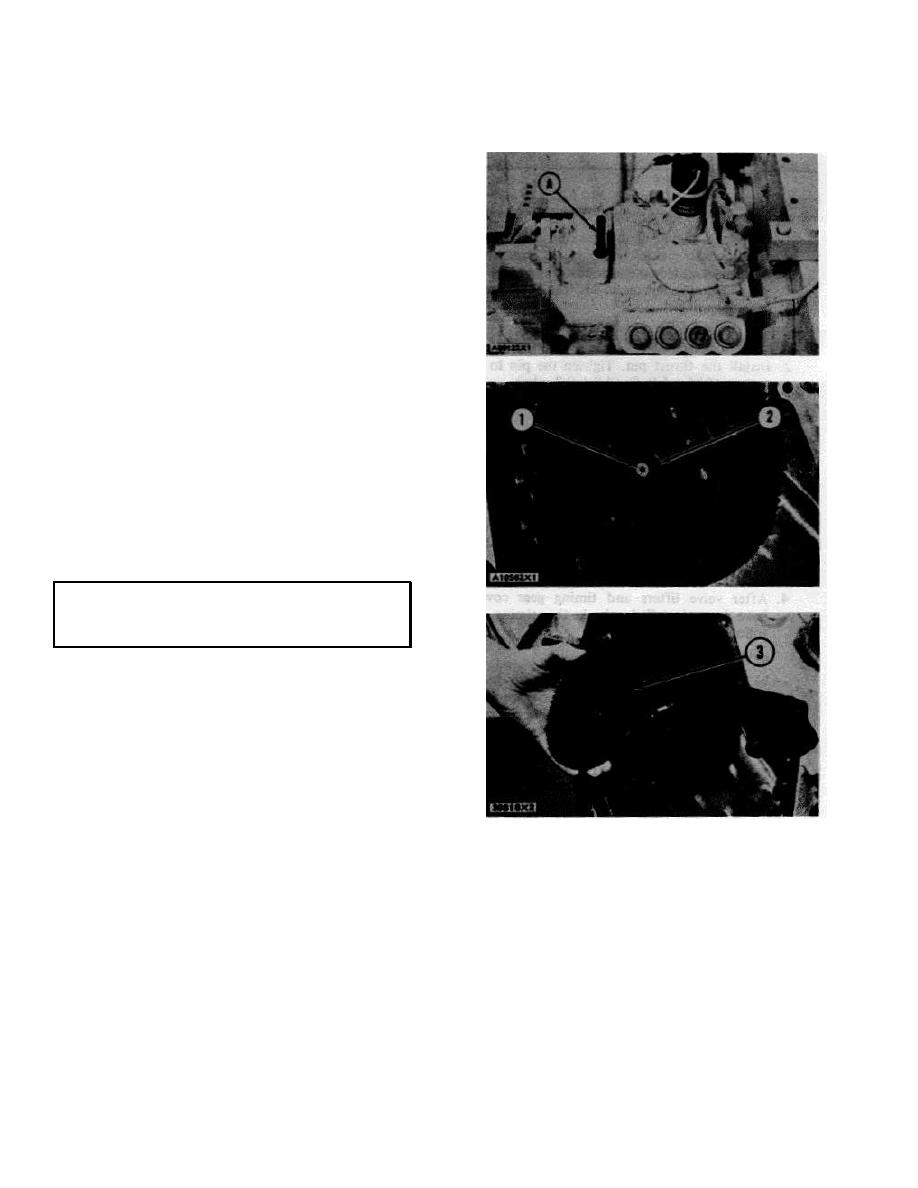
1.
Remove the plug from the fuel injection pump
housing and install timing pin (A).
2.
While turning the crankshaft clockwise (as
seen from the front of the engine), push on the
timing pin (A) until it slides into the groove
(slot) in the fuel injection pump camshaft.
3.
Remove screw (I) and washer (2) from the end
of the engine camshaft.
4.
Remove the automatic timing advance (3).
86
|
|
Privacy Statement - Press Release - Copyright Information. - Contact Us |