 |
|||
|
|
|||
|
|
|||
| ||||||||||
|
|
 ELECTRICAL SYSTEM
TESTING AND ADJUSTING
ELECTRICAL SYSTEM
Most of the testing of the electrical system can be done
seconds. Immediately test the battery voltage. A 6 volt
on the engine. The wiring insulation must be in good
battery in good condition will test 4.5 volts; a 12 volt
condition, the wire and cable connections clean and tight
battery in good condition will test 9 volts.
and the battery fully charged. If on the engine test
shows a defect in a component,
remove
the
The Special Instruction (GEG00058) with the
component for more testing.
9S1990 Charger Tester gives the battery testing
procedure.
BATTERY
CHARGING SYSTEM
Tools Needed: 5P300 Electrical Tester.
Tools Needed: 5P300 Electrical Tester.
9S1990 or 1P7470 Battery Charger
Tester.
NOTE: Make reference to Special Instruction
5P957 or 5P3414 Coolant and Battery
(GEG02276) and to the instructions inside of the cover
Tester.
of the tester, when testing with the 5P300 Electrical
Tester.
NOTE: Make reference to Special Instruction
(GEG02276) and to the instructions inside of the cover
The condition of charge in the battery at each
of the tester, when testing with the 5P300 Electrical
regular inspection will show if the charging system is
Tester.
operating correctly. An adjustment is necessary when
the battery is always in a low condition of charge or a
The battery circuit is an electrical load on the
large amount of water is needed (one ounce per cell per
charging unit. The load is variable because of the
week or every 50 service hours). Test the charging
condition of the charge in the battery. Damage to the
units and voltage regulators on the engine, when
charging unit will result, if the connections, (either
possible, using wiring and components that are a
positive or negative) between the battery and charging
permanent part of the system. Off the engine (bench)
unit are broken while the charging unit is charging. This
testing will give an operational test of the charging unit
is because the battery load is lost and there is an
and voltage regulator.
This testing will give an
increase in charging voltage.
indication of needed repair. Final testing will give proof
that the units are repaired to their original operating
High voltage will damage, not only the charging unit
condition.
but also the regulator and other electrical components.
Before starting on the engine testing, the charging
system and battery must be checked. See the following
Steps.
1. Battery must be at least 75% (1.240 Sp. Gr.) full
charged and held tightly in place. The battery
holder must not put too much stress on the
battery.
2. Cables between the battery, starter and engine
ground must be the correct size. Wires and
cables must be free of corrosion and have cable
support clamps to prevent stress on battery
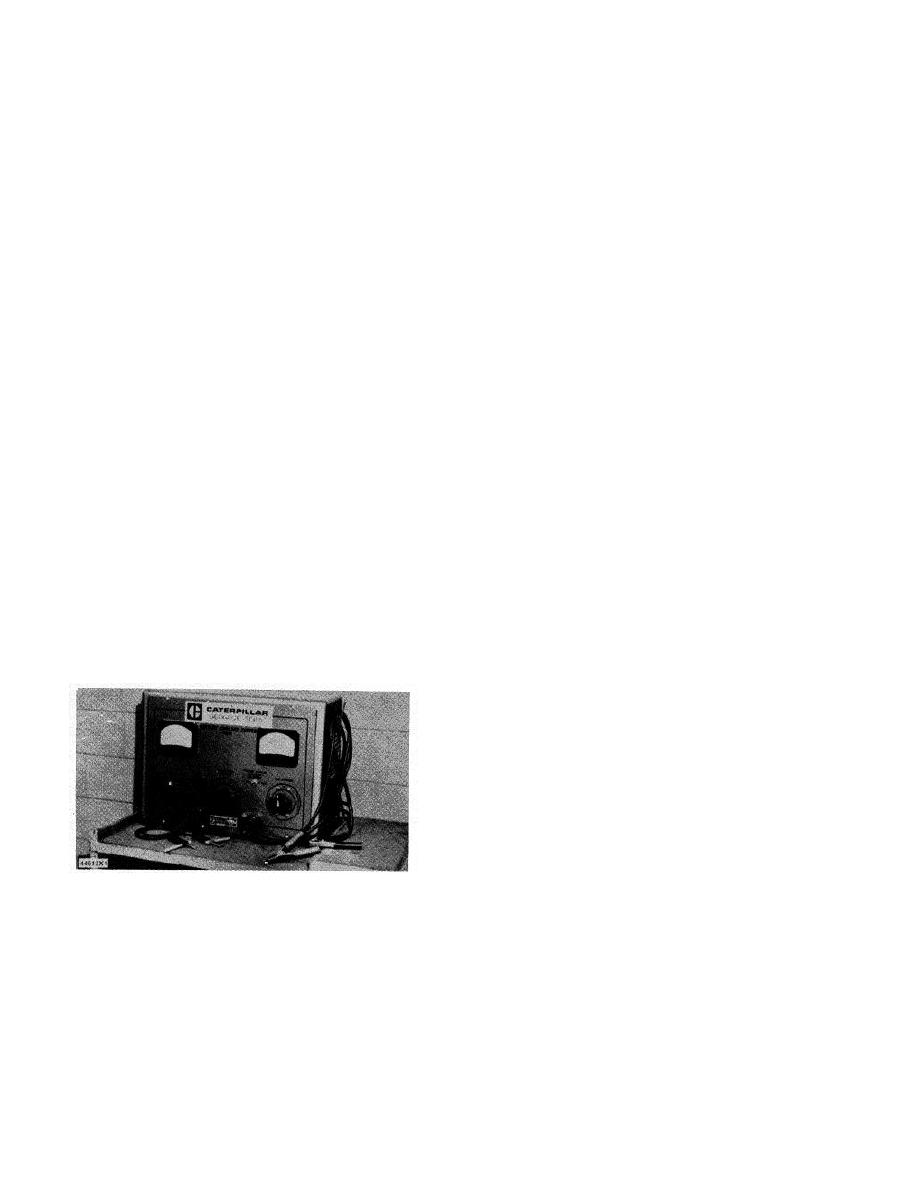
9S1990 BATTERY CHARGER TESTER
connections (terminals).
CAUTION: Never disconnect any charging unit circuit
3. Leads,
junctions,
switches
and
panel
or battery circuit cable from battery when the charging
instruments that have direct relation to the
unit is charging.
charging circuit must give proper circuit control.
Load test a battery that does not hold a charge when
4. Inspect the drive components for the charging
in use. To do this, put a resistance, across the battery
unit to be sure they are free of grease and oil
main connections (terminals). For a 6 volt battery, put a
and are able to drive the load of the charging
resistance of two times the ampere/hour rating of the
unit.
battery. For a 12 'volt battery, put a resistance of three
times the ampere/hour rating.
Let the resistance
remove the charge (discharge the battery) for 15
82
|
|
Privacy Statement - Press Release - Copyright Information. - Contact Us |