 |
|||
|
|
|||
|
|
|||
| ||||||||||
|
|
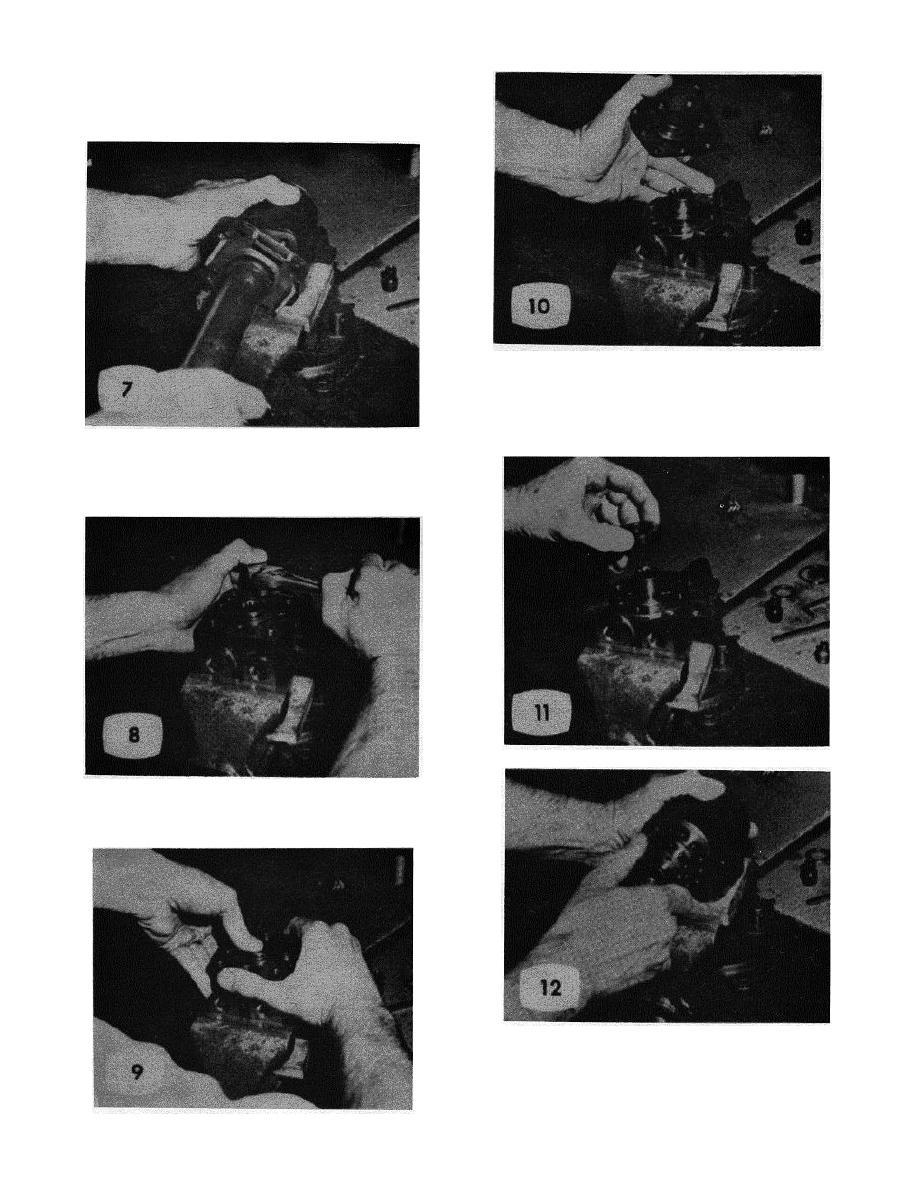
 Remove control assembly from vise and check for free
rotation of the control spool and sleeve parts with column
shaft. Figure No. 7.
Inspect mating surfaces for obvious leakage path,
wear, seal condition. Figure No. 10.
Remove cap locator bushing. Figure No. 11.
Place clean wooden block across vise throat to support
spool parts and clamp unit across port face with control end
up. Remove and set aside four cap screws. Figure No. 8.
Hold spool assembly down against block In vise and lift
off end cap. Figure No. 9.
Place housing on solid surface with port face down so that
it can be held securely and remove spool-sleeve assembly
from the 14 hole end of housing. Figure No. 12.
PAGE 7
|
|
Privacy Statement - Press Release - Copyright Information. - Contact Us |