 |
|||
|
|
|||
|
|
|||
| ||||||||||
|
|
 AXLES:
limits, remove shims to increase preload or add shims to
decrease preload.
Note: This is a preliminary check. Final bearing preload
check must be made with pinion shaft and bearing cage
assembly in differential carrier housing.
22. Install pinion assembly in differential carrier
housing, using original shim pack or its equivalent
thickness. Use four pinion oil seal retainer bolts with flat
washers to pull pinion shaft assembly fully into carrier
assembly. Make sure oil passages are aligned.
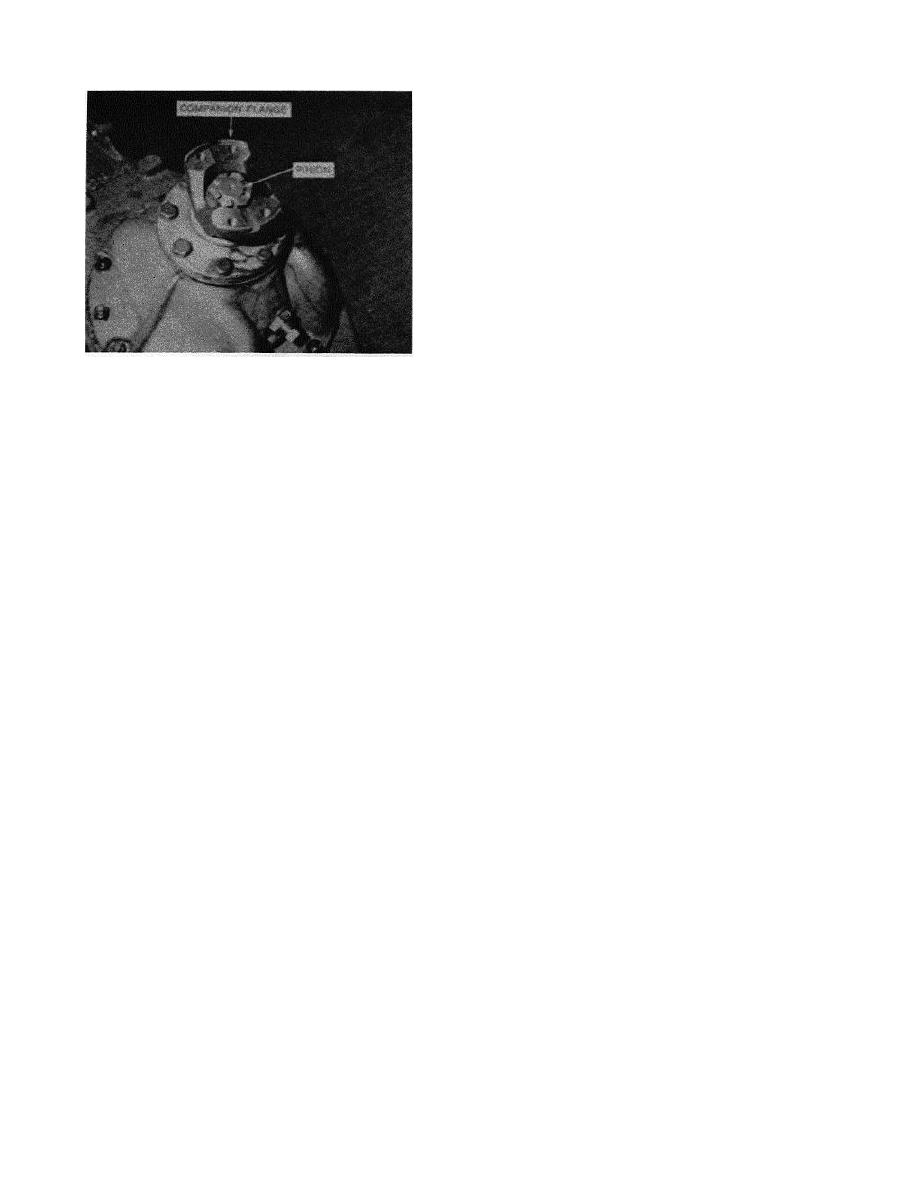
23. Temporarily install companion flange on end of
pinion shaft, without installing oil seal retainer and torque
companion flange nut to 600 ft-lbs (83 m-kg/814 joules).
24. Recheck the bearing preload making sure that
the reading is 13 to 23 in-lbs (0,15 to 0,27 m-kg/1,47 to
2,60 joules). If necessary, disassemble parts and add
shims to decrease preload or remove shims to increase
preload.
16. Screw two bolts in puller holes and pull bearing
25. When proper preload has been achieved on
cage from carrier assembly. This pulls the outer pinion
pinion bearings, reverse removal procedure-items 13
bearing cone from shaft. Turn each bolt equally to
through 8-for installation.
prevent damage to carrier shaft or bearing. After bearing
26. Remove companion flange nut and companion
cage is pulled out a short distance, back off puller screws
flange.
Clean and inspect seal retainer and seal,
and insert .030 inch (8 mm) shim stock under puller
replacing seal if necessary. Replace seal retainer gasket
screws to reduce possible damage to shim pack under
and install gasket retainer. Secure with proper bolts and
flange of bearing cage.
lockwashers and tighten to specified torque (refer to
17. Remove pinion shaft assembly from carrier.
TORQUE SPECIFICATIONS CHART).
Retain bearing cage shim pack intact for reuse in
27. Install companion flange and nut and torque to
reassembly.
600 ft-lbs (83 m-kg 814 joules). Install cotter pin to lock
18. Inspect pinion bearings and pinion gear. If
nut.
bearings and gear are in good condition, remove spacer
28. Remove differential from overhaul stand.
from pinion shaft.
Reverse removal procedure-items 7 through 2 -for
19. A pinion bearing spacer and shim kit is provided
installation. Refill planetary and differential housings
for service repair of differential and carrier assemblies.
(refer to LUBRICANTS SPECIFICATION CHART).
This kit consists of a spacer and a quantity of shims and
29. For differential setup refer to vendor service
is used to obtain proper pinion bearing preload. Position
manual.
the bearing spacer and a .010 inch (0,25 mm) shim on
pinion shaft.
AXLE REMOVAL:
20. Position pinion bearing cage assembly on
1.
Park machine on level ground, set parking
pinion shaft. Position outer pinion bearing cone on pinion
brake and lower blade.
shaft and press into place using steel tubing 3.25 inch (8,
2.
Jack up each wheel individually, blocking
3 cm) outside diameter, 2.75 inch (7,0 cm) inside
securely on frame so that wheels clear the ground.
diameter and approximately 7 inches (17,8 cm) in length
3.
Remove all wheel scrapers and fenders.
for driver.
4.
Attach hoist and sling to wheel and hold taut.
21. Keep pinion and cage assembly in press with
5.
Remove wheel nuts and lift wheel from axle.
approximately 500 pounds (227 kg) of pressure exerted
on driver. Wrap several turns of soft wire or cord around
pinion cage and pull in horizontal line with spring scale.
While pulling in straight line, read spring scale and
rotating torque. Multiply reading on spring scale by one-
half diameter of bearing cage to obtain preload torque.
Correct preload torque is 13 to 23 in-lbs (0,15 to 0,27 m-
kg/1,47 to 2,60 joules). If preload is not within these
Rev. 760501
K300
50-3.5
|
|
Privacy Statement - Press Release - Copyright Information. - Contact Us |