 |
|||
|
|
|||
|
|
|||
| ||||||||||
|
|
 TM 3-1040-214-12
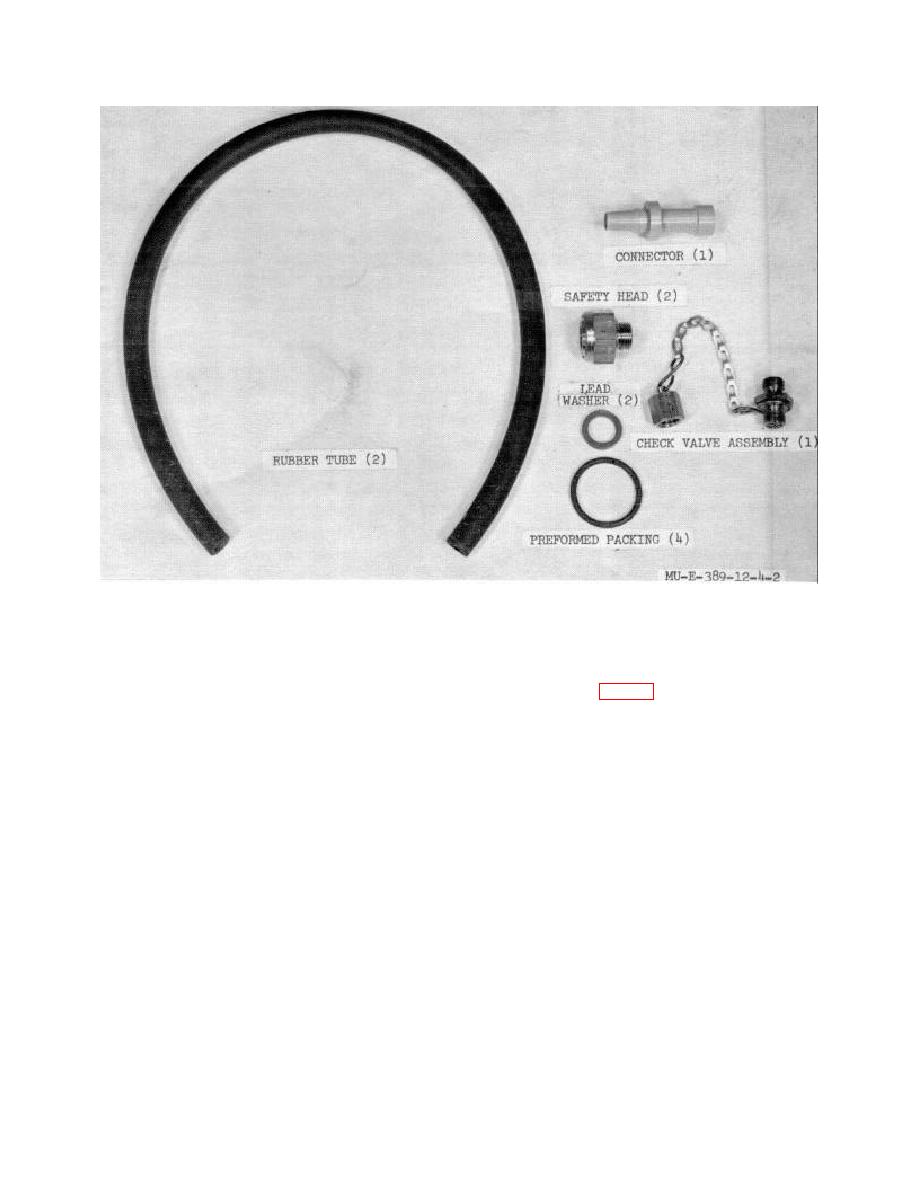
Figure 4-2. Repair parts.
the barrel with the slot in the threaded portion of the
b. Hose Group.
valve section.
(1) Apply antiseize compound or tape on the
coupling threads (fig. 1-3).
CAUTION
(2) Slide the hose assembly coupling over the
connector.
Do not use a wrench to tighten the
locknut.
(3) Using a wrench, tighten the coupling to
the valve body. Do not overtighten.
(7) Handtighten the locknut to the barrel
(4) Install a quick-disconnect coupling half on
section (step C).
the hose assembly coupling and tighten.
(8) Moisten and install the tapered end of the
4-6. Assembly of Tank Group
sleeve (step C) into the open end of the rubber tube at
the barrel end.
The tank group is shipped completely assembly.
(9) Press the trigger. Push the sleeve into the
Remove protective material from the tank group.
gun barrel. Release the trigger.
(10) Slide the collar over the sleeve and the
end of the gun barrel. Tighten setscrews.
4-3
|
|
Privacy Statement - Press Release - Copyright Information. - Contact Us |