 |
|||
|
|
|||
|
|
|||
| ||||||||||
|
|
 SB 740-91-01
Step
Setting and Instructions
Normal Indication
(g)
Repeat steps (e) and (d).
(h)
De-energize PS2 and PS3
and disconnect equipment.
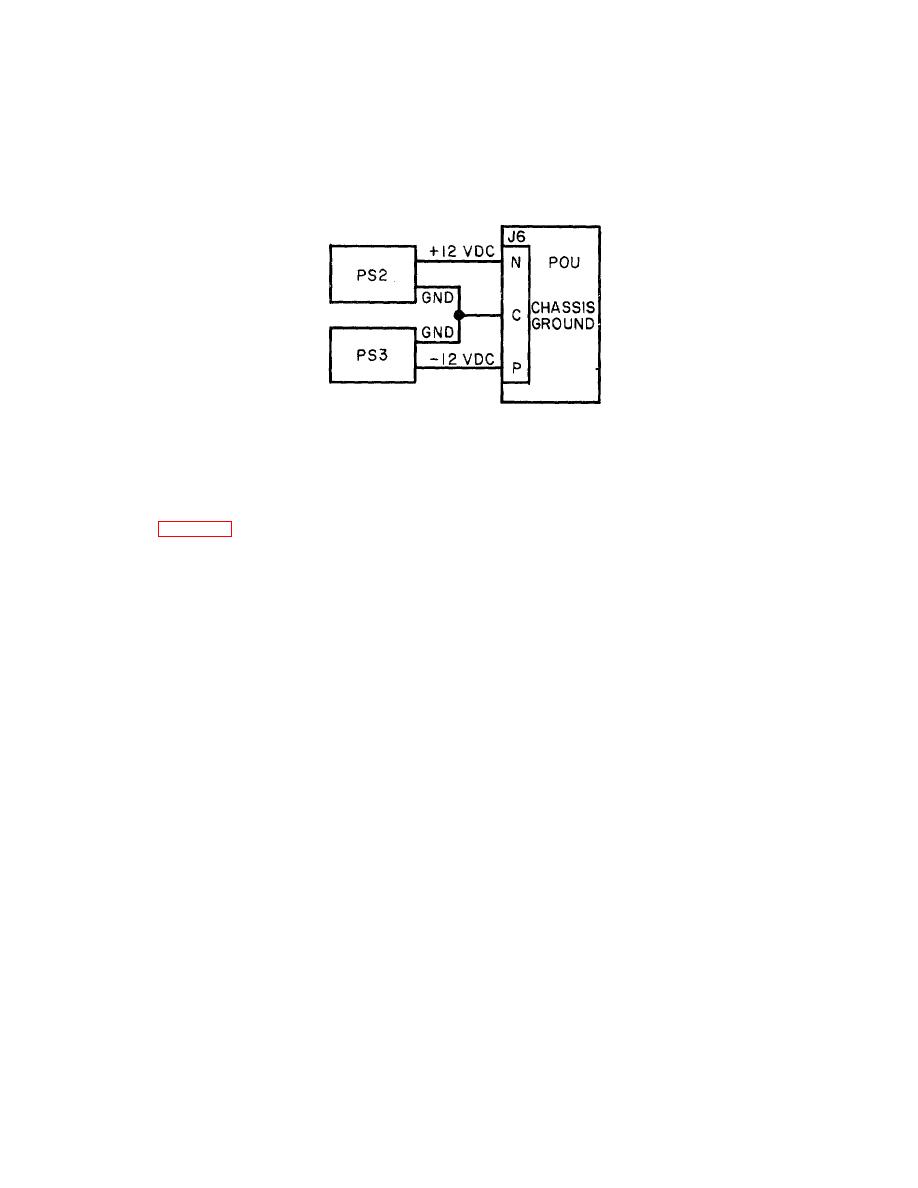
Figure B-2. Battery Power Indicator Test Setup
8
Line Drop Test
(a)
Connect equipment to first
set of points as shown in
figure B-3 below.
(b)
Energize PS1 and increase
160 MV MAX
voltage until PS1 ammeter
shows 8 amperes. Then observe
DVM reading.
(c)
De-energize PS1 and reconnect
equipment to next set of points
and repeat step (b) for each:
INPUT
HIGH
VOLTAGE
CURRENT
JUMPER
DVM
(1)
J1-A
J1-B
J3-A
J3-C
J1-B
J3-C
100 MV MAX
(2)
J1-A
J1-B
J4-B
J4-A
J1-A
J4-B
160 MV MAX
(3)
J1-A
J1-B
J4-B
J4-A
J1-B
J4-A
100 MV MAX
(4)
J1-A
J1-B
J5-A
J5-B
J1-A
J5-A
160 MV MAX
(5)
J1-A
J1-B
J5-A
J5-B
J1-B
J5-B
100 MV MAX
(6)
J1-A
J1-B
J6-A
J6-C
J1-A
J6-A
250 MV MAX
(7)
J1-A
J1-B
J6-A
J6-C
J1-B
J6-C
150 MV MAX
(8)
J2-B
J2-A
J7-A
J7-B
J1-B
J7-A
50 MV MAX
(9)
J2-B
J2-A
J7-A
J7-B
J2-A
J7-B
120 MV MAX
(d)
De-energize PS1 and disconnect-equipment.
Change 1 B-130.32
|
|
Privacy Statement - Press Release - Copyright Information. - Contact Us |