 |
|||
|
|
|||
|
Page Title:
AIR INDUCTION AND EXHAUST SYSTEM |
|
||
| ||||||||||
|
|
 AIR INDUCTION AND EXHAUST SYSTEM
AIR CLEANER
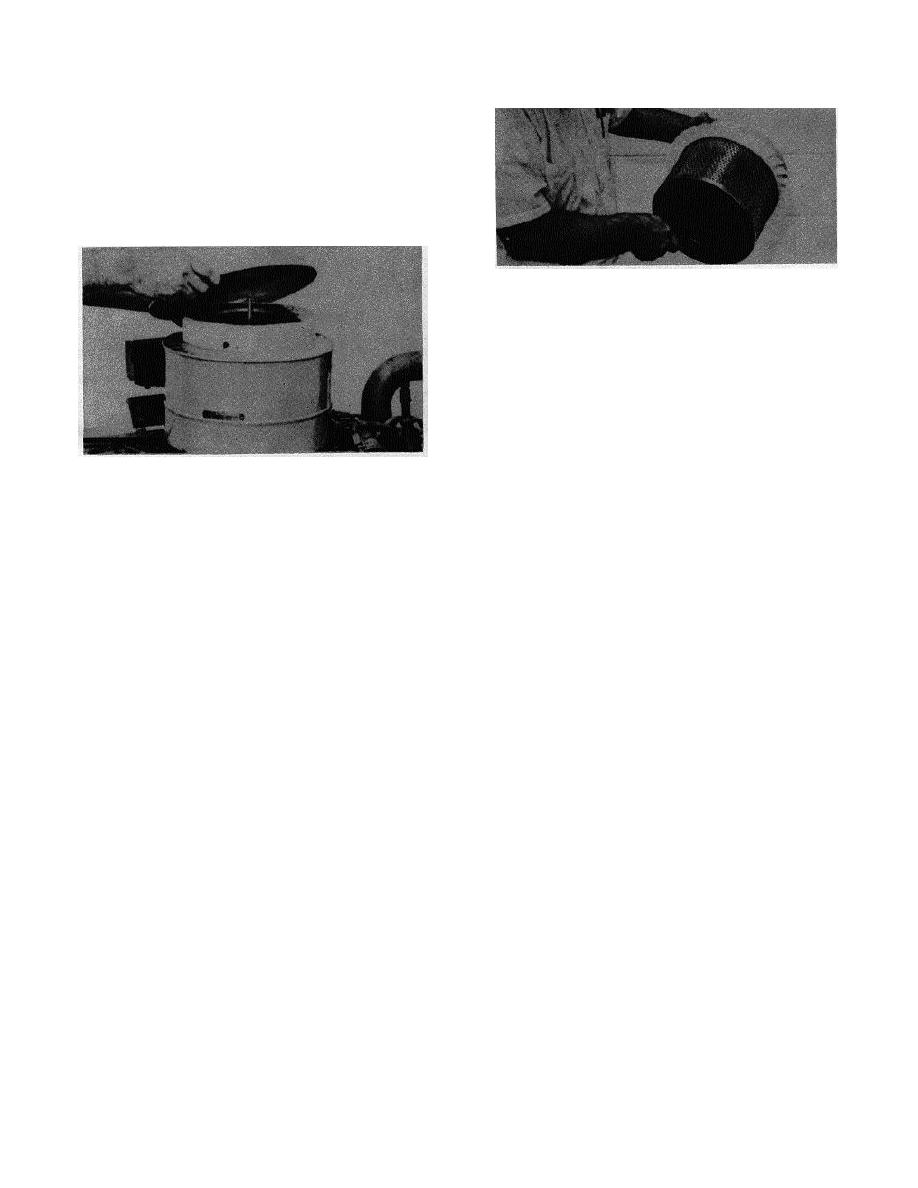
1. Remove the wing nut, cover and element.
2. Clean the inside of the cover. The base should be
clean. If the base is dusty, the air cleaner gasket
leaked; discard the element.
3. Inspect the new element for damage and dirt.
CLEANING THE ELEMENT WITH PRESSURE AIR
CLEANING WITH WATER
1. Use clean water - 40 PSI maximum. Do not use a
nozzle.
2. Direct the water stream along the complete length
of each pleat on the CLEAN side of the element.
3. Direct water along the complete length of each
pleat on the DIRTY side of the element.
REMOVING THE ELEMENT
4. Rinse the CLEAN side of the element.
4. Install the new element and cover.
5. Allow the cleaned element to dry thoroughly.
CLEANING WITH DETERGENT
The element removed may be cleaned or discarded,
depending upon the apparent condition of the pleats. If a
1. Wash both sides of the element in a solution of
cleaned element is installed, and the exhaust smoke and/or
warm water and non-sudsing household detergent.
loss of power continues, remove and discard that element
and install a new element. Install a new element at least
2. Rinse the CLEANEST side of the element with
once a year.
clean water (40 PSI maximum) along the complete
length of each pleat.
CLEANING WITH PRESSURE AIR
3. Rinse the opposite side of the element along the
complete length of each pleat.
1. Use clean, dry-air - 30 PSI maximum. Hold the
nozzle at least one inch from the element and at a
4. Rinse the first side again to remove all loosened
slight angle. (A direct blast can rip the pleating.)
dirt.
2. Direct the air stream along the complete length of
5. Allow the cleaned element to dry thoroughly.
each pleat on the CLEANEST side of the element.
CHECKING CLEANED ELEMENT
(This will loosen the dirt from the dirtier side.)
Hold the dried element in front of a lighted electric
3. Blow the loosened dirt from the DIRTY side.
bulb. Carefully inspect the element for tiny, pin-points of
light. Any light showing indicates a pleat has ruptured and
4. Direct the air from the CLEAN side through to the
will tear with further use. Discard the element.
DIRTY side to remove any dirt blown into the
pleats.
1. Wrap usable elements in heavy paper.
2. Store the wrapped element in a dry, clean place.
VALVE LASH
PREPARING TO CHECK ADJUSTMENT
stroke when the timing mark on the damper or the pulley is
aligned with the timing pointer, and No. 1 and No. 2.
TDC of the No. 1 piston on the compression stroke is the
exhaust and inlet valves are closed. (The rocker arms are
reference point. The No. 1 piston is at TDC compression
free and the push rod is at its lowest point.)
12
|
|
Privacy Statement - Press Release - Copyright Information. - Contact Us |
