 |
|||
|
|
|||
|
Page Title:
NOZZLE ASSEMBLY TROUBLE SHOOTING GUIDE |
|
||
| ||||||||||
|
|
 FUEL SYSTEM
TESTING AND ADJUSTMENT
for leakage between the cap and the body of the fuel
injection nozzle.
1. Put the fuel injection nozzle (5) on the 8S2267
Nozzle Tester (2).
2. Get the pressure to approximately 4000 psi (281.2
kg/cm2). Do this by pumping the tester until the
cap is completely full of fuel, and then continue to
pump until the pressure is 4000 psi (281.2 kg/cm2).
There must not be any leakage between the cap
and the body of the fuel injection nozzle. If there is
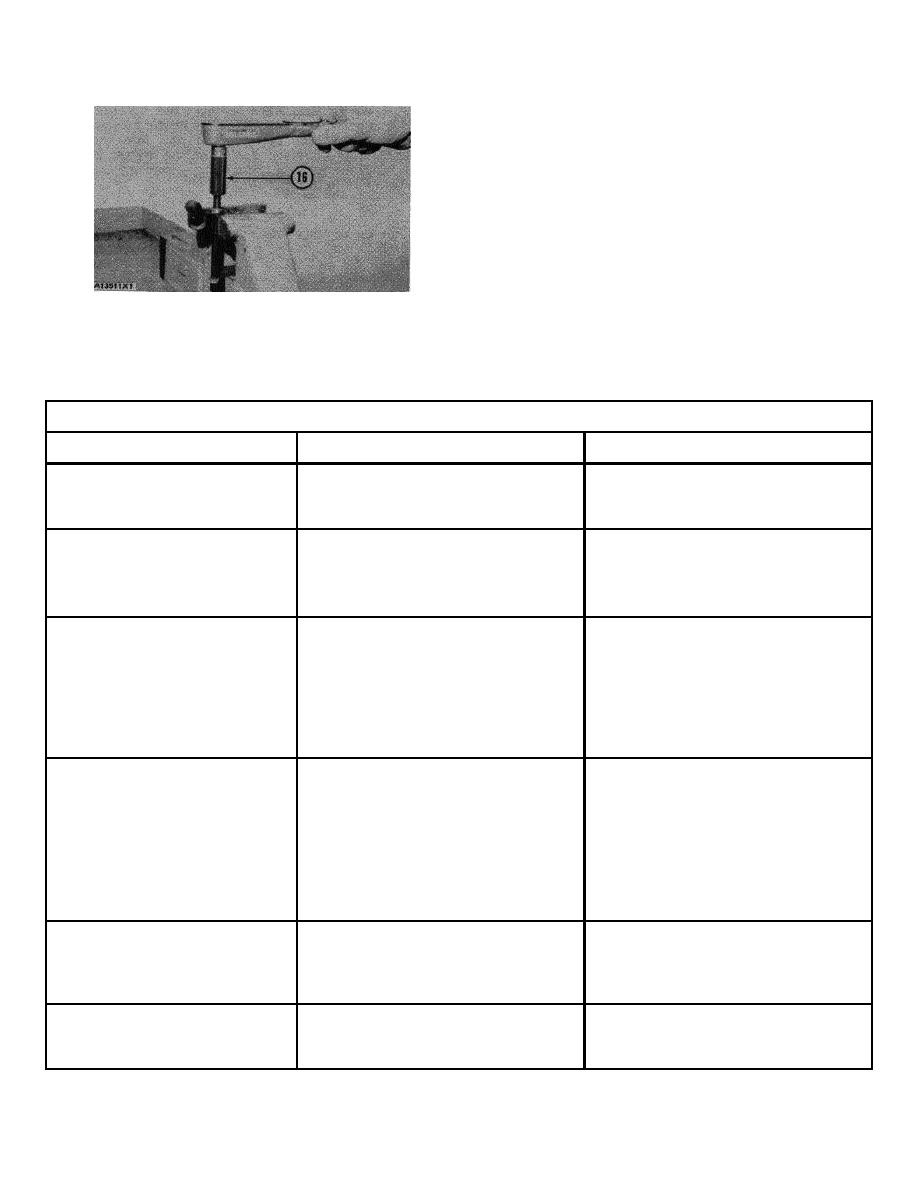
TIGHTENING CAP
leakage, make replacement of the O-ring seal (8)
16. 9S5031 Socket.
and check for cracks in the cap. Check nozzle
Cap Leakage Test
again. If there is still leakage, make replacement
With the adjustments and tests complete, check
of the fuel injection nozzle.
NOZZLE ASSEMBLY TROUBLE SHOOTING GUIDE
PROBLEM
CAUSE
CORRECTION
Opening Pressure Not Correct
1. Adjustment wrong.
1. Make adjustment
2. Bad Parts
2. Make replacement of nozzle
assembly
1. Clean orifices
Nozzle Will Not Open
1. Orifices not open
2. Make replacement of nozzle
2. Bent valve
assembly
3. Make adjustment
3. Adjustment of lift not correct
Spray Pattern Not Correct
1. Orifices not open or bad
1. Clean orifices, if orifices are bad,
make replacement of nozzle
assembly
2. Crack at tip of nozzle
2. Make replacement of nozzle
assembly
3. Adjustment of lift screw not correct
3. Make adjustment
Leakage At The Seat
1. Deposits in seat area
1. Disassemble and clean nozzle
2. Seat for valve bad
2. Make replacement of nozzle
assembly
3. Distortion of body
3. Make replacement of nozzle
assembly
4. Crack at tip of nozzle
4. Make replacement of nozzle
assembly
Return Leakage High
1. Wear or scratches at guide
1. Make replacement of nozzle
assembly
2. Bad parts
2. Make replacement of nozzle
assembly
Return Leakage Low
1. Varnish on valve
1. Clean guide area with solvent
2. Not enough clearance
2. Make replacement of nozzle
assembly
49
|
|
Privacy Statement - Press Release - Copyright Information. - Contact Us |