 |
|||
|
|
|||
|
Page Title:
Low-Pressure Hose Repair - Using Thin Neoprene and Clamps |
|
||
| ||||||||||
|
|
 TM 5-3835-222-BD
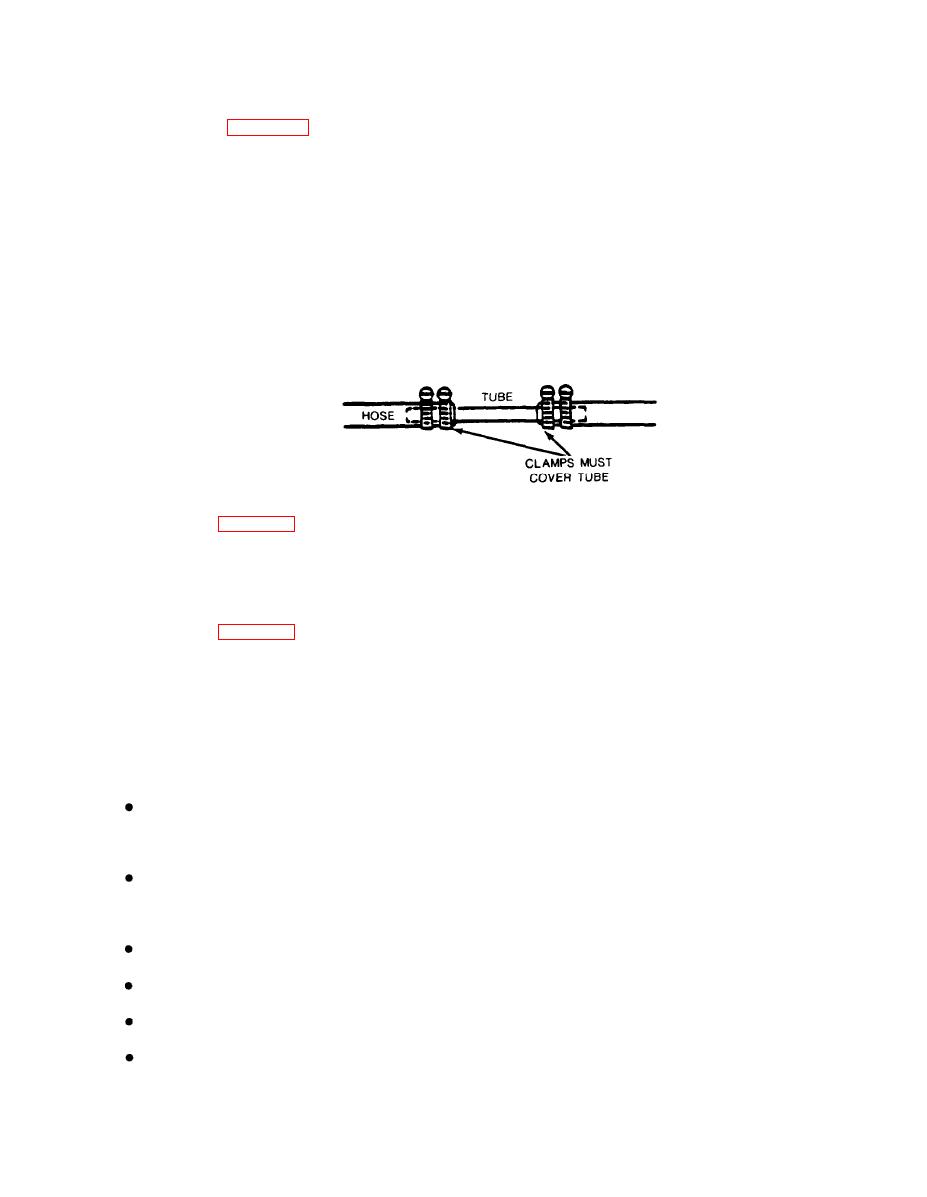
b. Cut piece of tubing of correct diameter four inches longer than the piece of damaged hose
removed (see para 8-17).
c. Slide two hose clamps over each end of the hydraulic hose.
d. Insert the tube Into the hose ends. Make sure that the hose overlaps the tube by two
Inches on both sides.
e. Move hose clamps over the tube Inside the hose and tighten them with a screwdriver or wrench.
f. Check that the hydraulic reservoir level Is at least at the minimum operating level. If this level Is
low, refer to para 8-13 and fill the reservoir as needed.
g. Operate all hydraulic subsystems (except those that may still be damaged) to remove air from the
system. Check carefully for fluid leaks. Tighten leaking fittings.
h. Check the hydraulic reservoir again to ensure a sufficient hydraulic fluid level. If this level is
low, refer to para 8-13 and fill the reservoir as needed.
i. Record the BDAR action taken. When the mission is completed, as soon as practicable, repair
using standard maintenance procedures.
8-5.5. Low-Pressure Hose Repair - Using Thin Neoprene and Clamps
Limitations
This fix Is most effective for small punctures or small rips in low-pressure hoses.
Personnel/Time Required:
1 soldier - 30 minutes
Materials/Tools:
Wire Snips, Small
Hose Clamp(a)
Tool Kit
Deleted.
Change 1
8-7
|
|
Privacy Statement - Press Release - Copyright Information. - Contact Us |